Motherboard for Anet A8 12V‑24V Main Board Module A8 3D Printer Motherboard USB Interface 3D Printer Platforms
FREE Shipping
Motherboard for Anet A8 12V‑24V Main Board Module A8 3D Printer Motherboard USB Interface 3D Printer Platforms
- Brand: Unbranded

Description
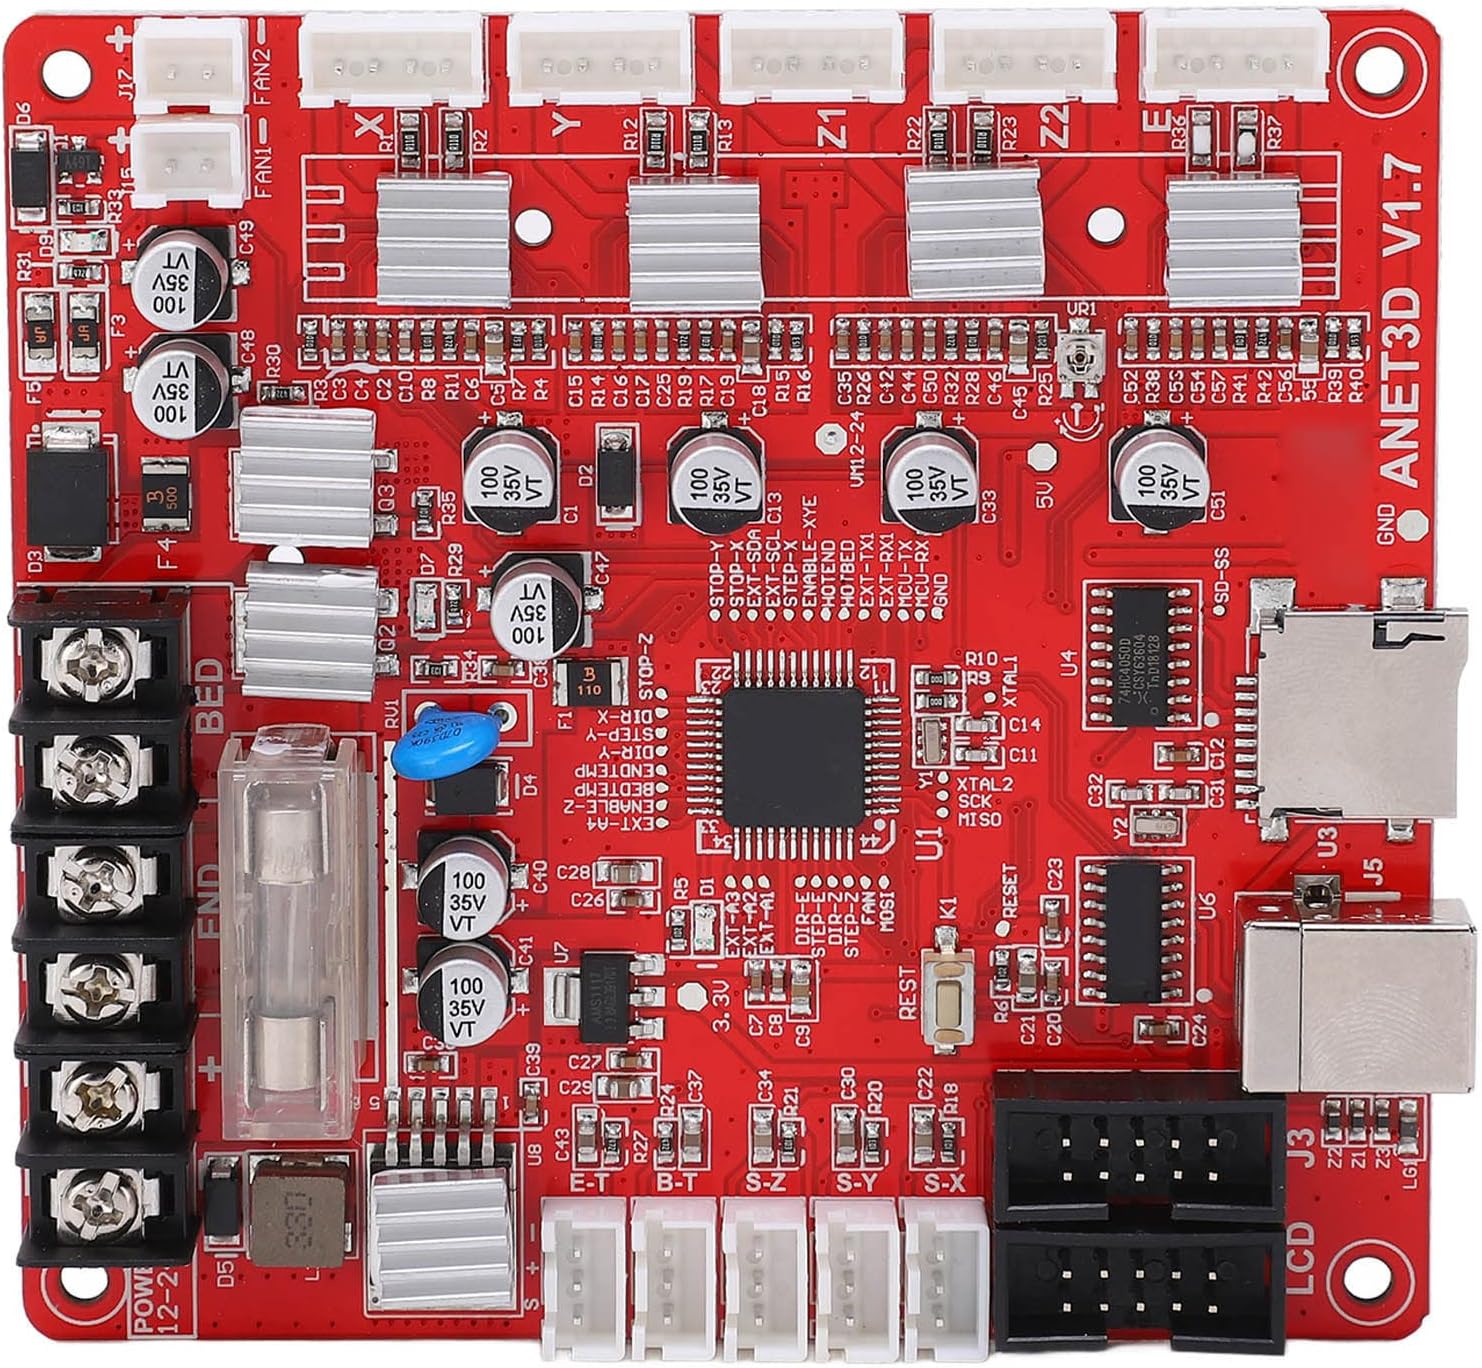
The MISO/SCK/RST side is to face the other 10 pin socket which the programming port is connected to. Open Device Manager and plug in the USB cable from the printer to the computer (I find it’s best to have the printer powered first). Between the time when I first started this project and now I have put Raspberry Pi's with Octoprint on my printers, and discovered that the Anet firmware does not have temperature overrun safeties built in. I went the whole hog and used a computer fan to cool them and haven’t looked back, all wiring diagrams and upgrade options are on Thingiverse and worth a look and easy to follow if your not too tech savvy. I am attempting to provide a mount adapter frame for a PSU with a 50 mm x 150 mm mounting footprint.
Overall this board has been pretty good considering it's my first but I think it's time to think about upgrading. Ah, he’s using the ISP interface which has the SPI and the J8 is simply to jumper the wires to the correct location.The control module is embedded in a highprecision electronic components, such as lcd, sensor, led and other temperature resistant devices, to ensure that the quality of the printer is reliable to use. And speaking of the extruder, I will be happy to get rid of the current firmware's extruder "stutter" which doesn't give the nicest results. The CR Touch is currently wired with YELLOW to LCD pin 3 (Servo pin 27), WHITE to J3 pin 8 (GND), BLUE to Z-min pin 3 (Signal), BLACK to Z-min pin 2 (+5V) and RED to Z-min pin 1 (GND).
Take the time to purchase and fit a mosfet for both heated bed and extruder with appropriate rated wire. I spent a lot of time with the calibration guides provided with the printer, changing extrusion speed/distance, printer temperature, movement acceleration, and so forth, but I only ever seemed to improve the print quality a little. All going well, it will soon complete and then your printer should reboot (If not, reboot it yourself by unplugging and replugging everything). Reduce heat: The 3D printer motherboard supports 12-24V input, and the self-leveling proximity probe motherboard can reduce heat during work.
Connect it up as detailed earlier in this document, and then from within Arduino choose Programmer > Usbasp and then select Burn bootloader. I'm in a situation where I need to control current to the E stepper and am trying to figure out how.
Please include what you were doing when this page came up and the Cloudflare Ray ID found at the bottom of this page.The temperature is almost as good as the original one, and it can be used with a printer or scanner to make your printer more practical.
- Fruugo ID: 258392218-563234582
- EAN: 764486781913
-
Sold by: Fruugo